Signs Your Van Electrical System Was Installed Wrong
Undersized wire, loose connections, and skipped fusing are common signs of a bad van electrical install. Here's what to check and what to ask first.
A van electrical system is one of the few parts of a build you can’t fully evaluate by looking at it. The panel gets buttoned up, the batteries disappear under a bench, and the wiring runs behind walls you’re not going to open back up. That’s exactly why a bad install can sit there for months looking fine, right up until it isn’t.
We see the aftermath of this more often than you’d expect: vans that come in for an upgrade or a repair and turn out to need a full rewire instead. The problems are rarely dramatic. They’re wire that was never sized for the load, connections that were never tightened right, and fusing that got skipped to save a step. None of it shows up on a walkthrough. All of it shows up eventually.
Check these things, whether you’re evaluating a shop’s work before you sign off, buying a used build, or trying to figure out why your own system isn’t performing the way it should. If you want the full step-by-step for wiring a system from scratch, we cover that separately in how to wire a van. This is the shorter list for evaluating one that’s already built.
Wire that’s undersized for the load
Every circuit in a 12V system has to be sized for two things: how much current it’s going to carry, and how far it has to travel. A high-draw circuit like an inverter needs a heavy main run, not the same gauge you’d use for interior lighting. Run that cable too thin and it heats up under load, drops voltage before it reaches the device, and wears out faster than it should.
The fix is straightforward: match wire gauge to amperage and run length for every circuit individually, instead of using one gauge for the whole van because it’s easier. If nobody can tell you why a specific wire is the gauge it is, that’s worth asking about.
Connections that were never done right
Wire gauge only matters if the connections on either end are solid. A twisted-and-taped splice, a crimp done without the right tool, or a lug that was never actually torqued down will work for a while and then start failing quietly. Resistance climbs at a bad connection, that resistance turns into heat, and heat is what causes both nuisance failures and, in the worst case, a real problem.
Every connection in a system we build gets a proper heat-shrink lug, sized to the wire and torqued to spec. It’s the part of a build nobody photographs, and the part that determines whether the system is still working the same way in five years.
Missing fuses and breakers
Every circuit needs its own overcurrent protection, sized to that circuit, rather than one fuse at the battery covering everything downstream. Skipping individual fuses is one of the fastest ways to turn a small wiring mistake into a real problem, because nothing stops a short before it starts heating the surrounding wire and whatever it’s touching.
This is one of the easier things to check yourself. Open the panel and look for a fuse or breaker on every circuit leaving the battery bank, not just one at the source.
Questions worth asking directly
A few questions tend to separate a solid install from a rushed one, and you can ask them before any work starts or before you buy a used build:
- Why is this wire the gauge it is on this specific run?
- Does every circuit get its own fuse or breaker?
- How are connections made, and are they heat-shrunk or crimped properly?
- Was the whole system tested under real load before the walls closed?
A specific, confident answer to each one is a good sign. A shrug is worth paying attention to.
What we build to instead
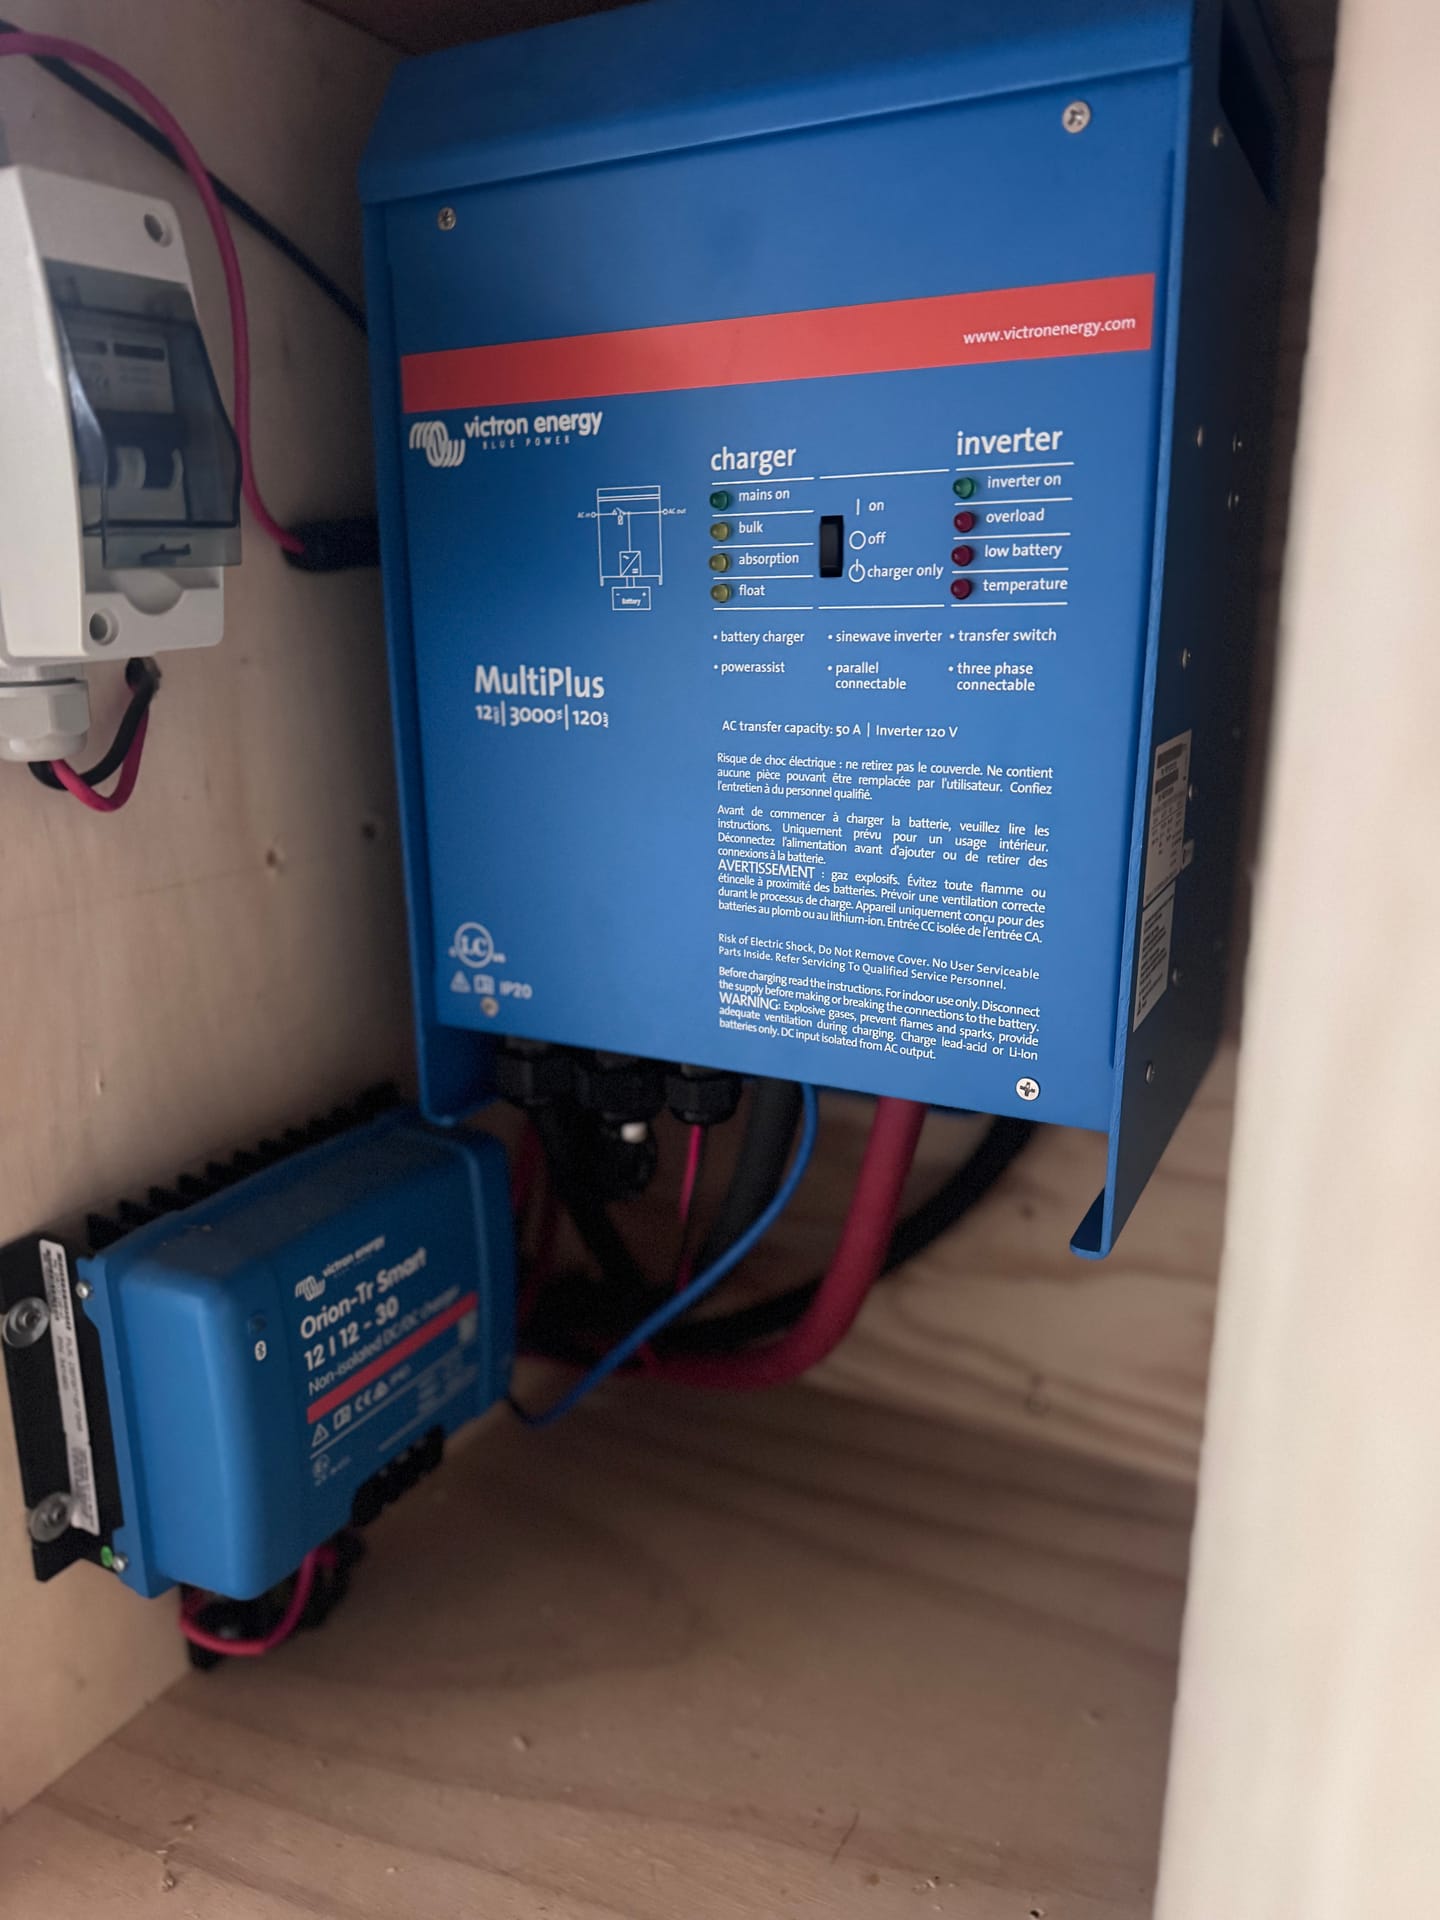
Our own systems are built around Victron components for a reason: a Victron 3000W inverter/charger, Victron MPPT solar charging, and a Victron Orion DC-DC charger pulling power from the alternator while you drive, all paired with a lithium battery bank sized to how you actually use the van rather than a generic number. Trip length, what you run, and how much sun and driving time you get all factor into that sizing, and banks typically land somewhere between 200Ah and 600Ah depending on the build.
Every connection is a proper heat-shrink lug, every circuit gets its own fuse or breaker, and every wire run is sized for the load it’s actually carrying. It’s the least glamorous part of a van build, and the part that keeps the rest of it safe and working the way it’s supposed to. Our workmanship carries a 1 year warranty for exactly that reason.
If you’re planning a build from scratch, our Sprinter, Transit, and ProMaster conversions are all wired the same careful way. If you already have a van and something feels off with the electrical, or you just want a second opinion before you take a build off someone else’s hands, get in touch and we’ll take a look.
Ready to talk through your build or get a second opinion on an existing one? Contact us and we’ll walk through it with you.